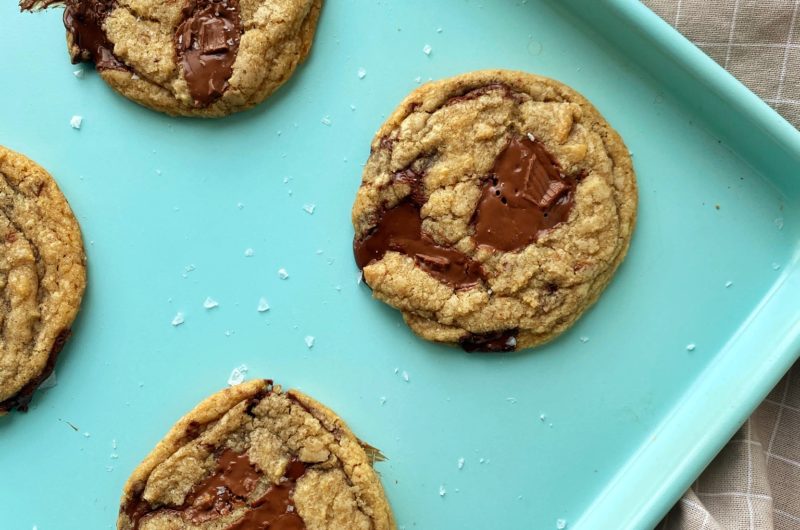
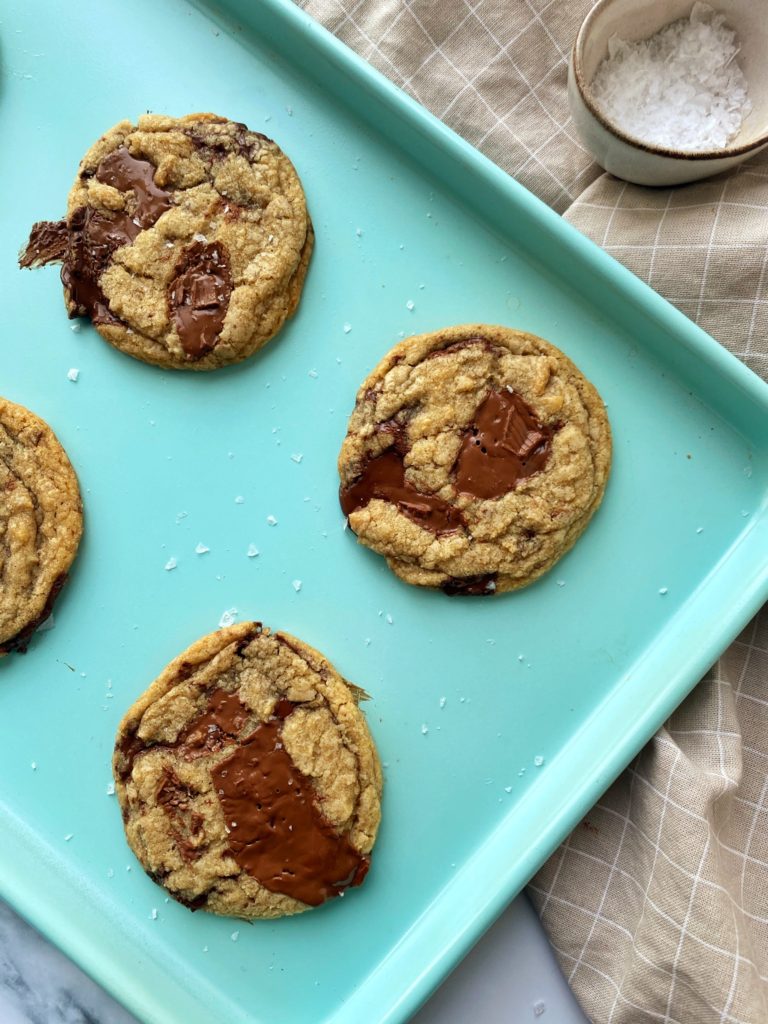
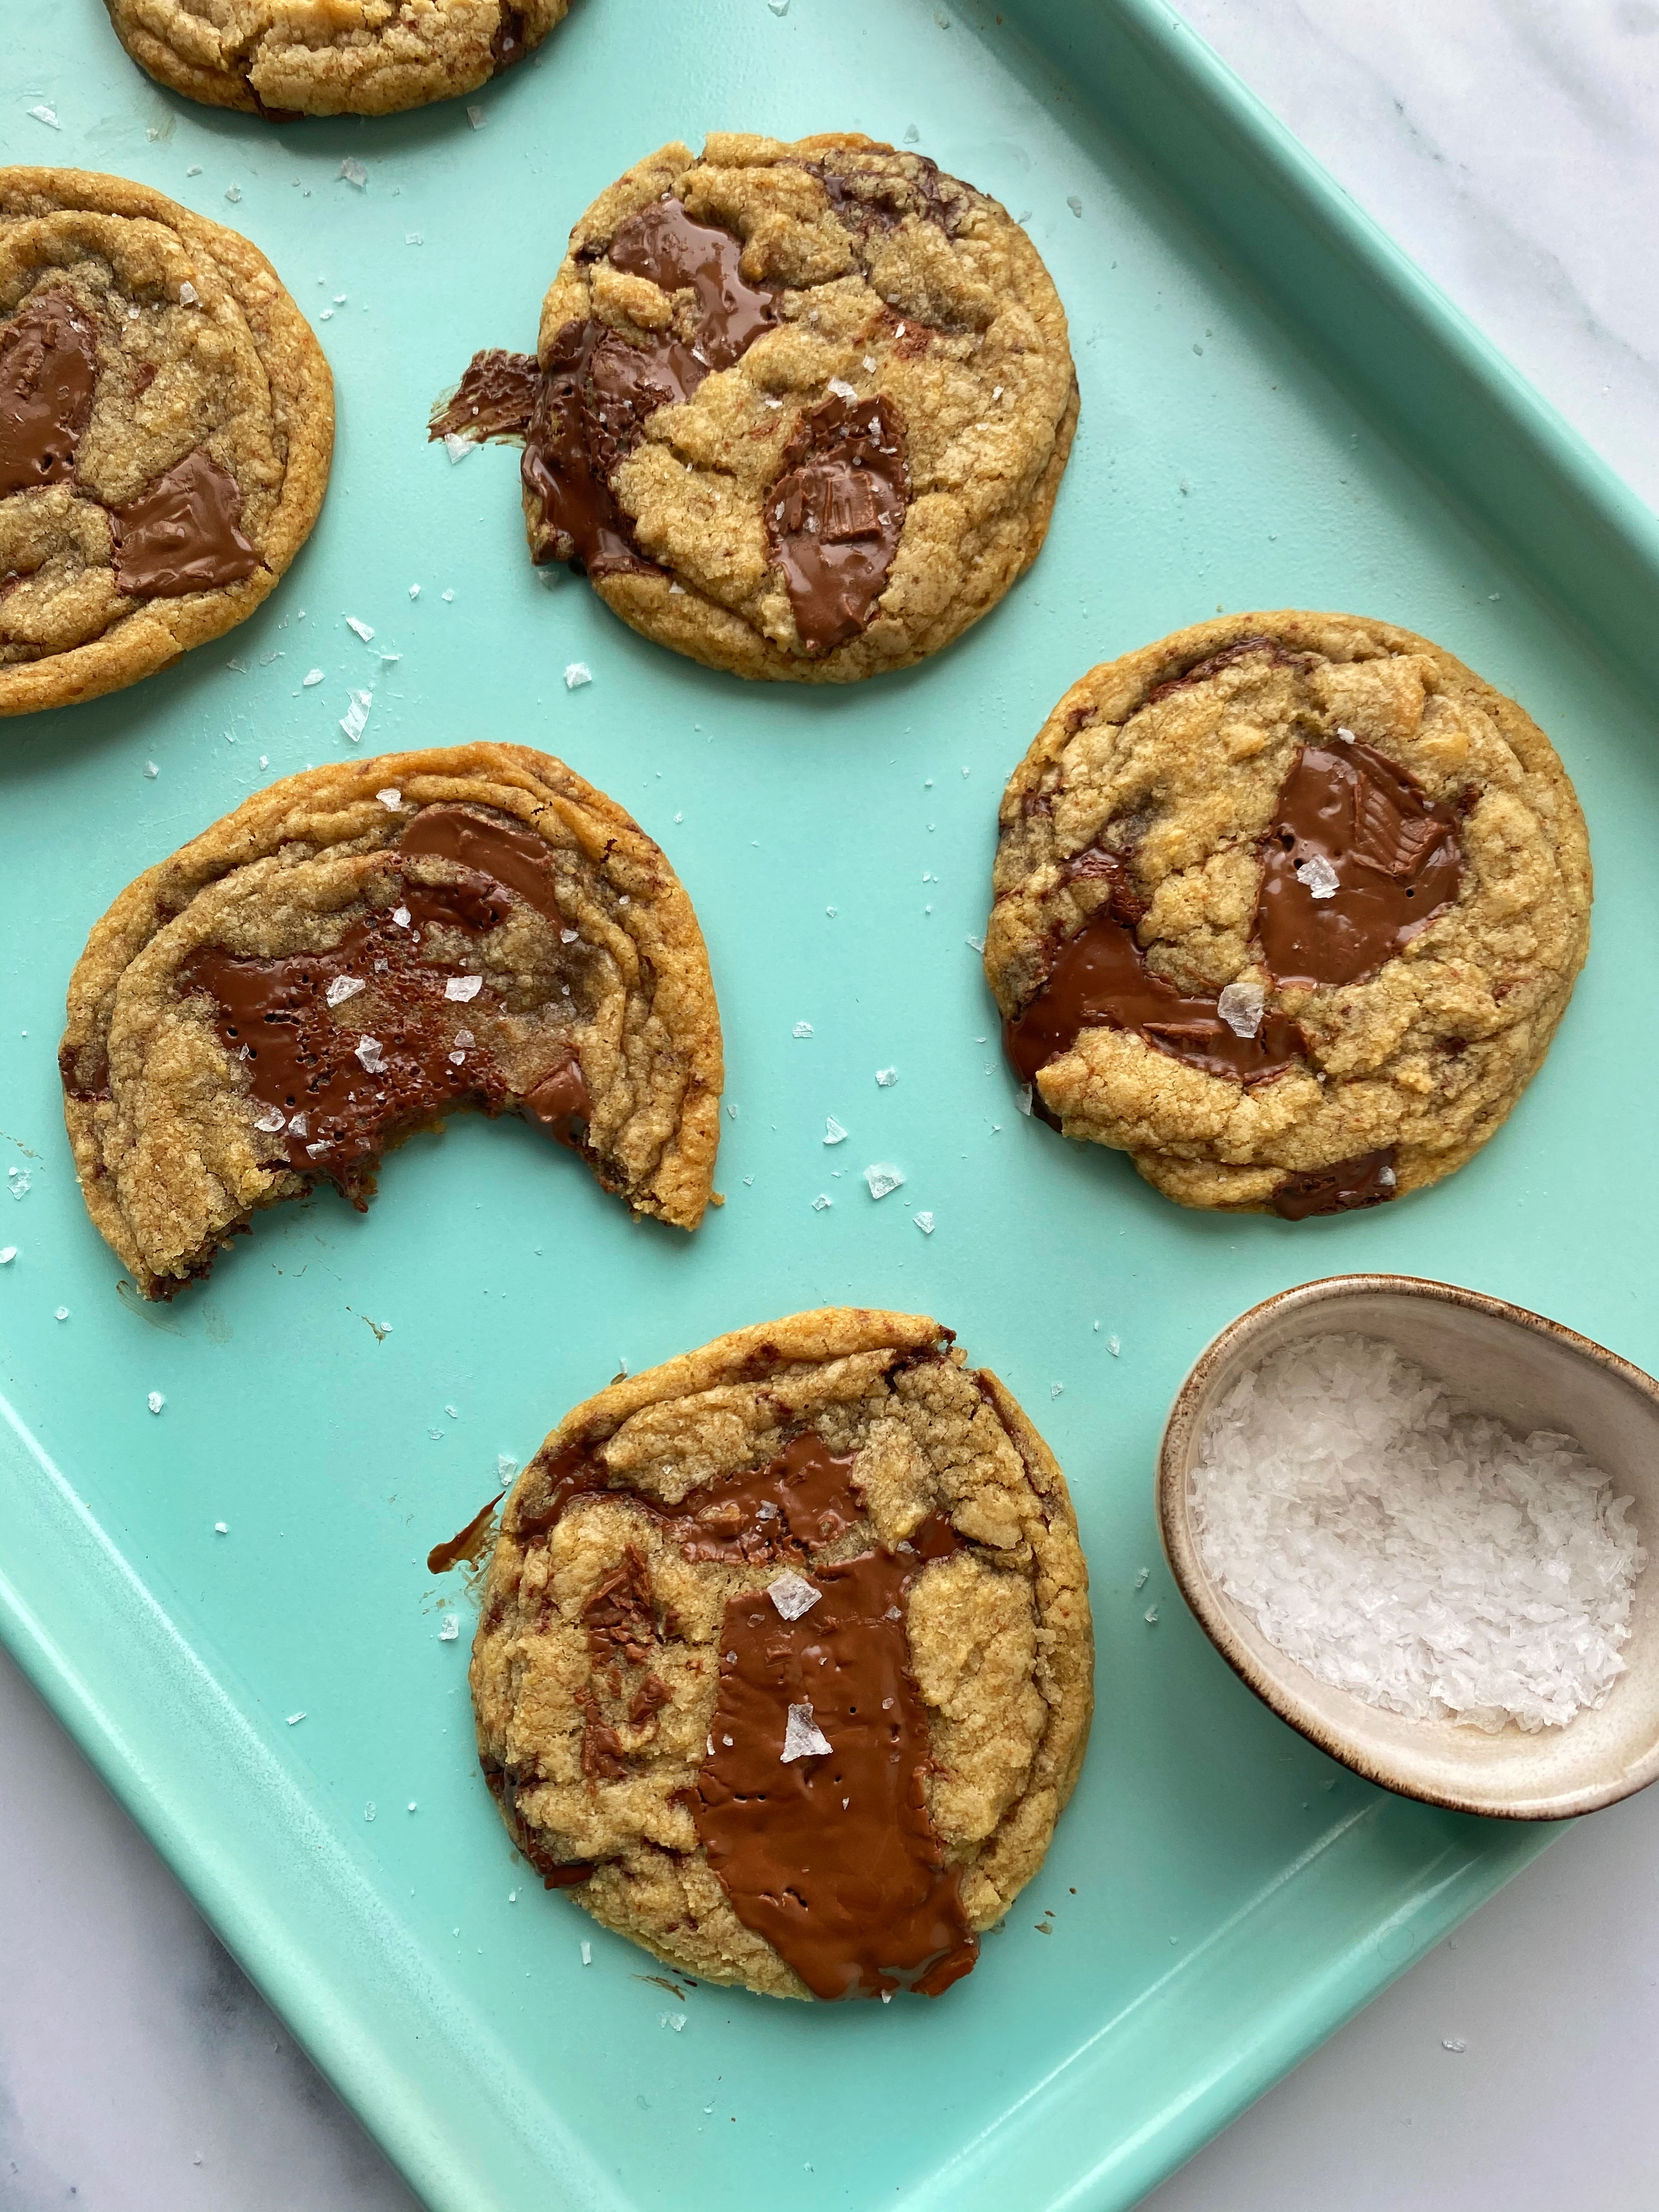
These are the BEST Brown Butter Chocolate Chip Cookies! A perfect balance of sweet, salty, gooey, with a soft centre but crispy exterior.
What Makes These Cookies So Good?
There are four components of this cookie that make them SO good! Brown butter, cornstarch, melty pools of chocolate, and flaky salt. This chocolate chip cookie uses mostly basic pantry ingredients but these extra tips and ingredients will really elevate your chocolate chip cookie. I promise people will be asking you to make these chocolate chip cookies all the time!
Brown Butter – Brown your butter. Seriously, if you don’t know what this is, keep reading below. This will change your life and the way you make chocolate chip cookies forever.
Cornstarch – It’s not much, but there’s one tbsp of cornstarch in the batter which helps thicken the batter to create a tender and chewy chocolate chip cookie.
Chocolate – I used roughly chopped chocolate bars in the recipe, but you can easily swap them with chocolate chips, chocolate discs, or whatever chocolate you like! I love the chunks of chocolate because then you get a mix of big and small pieces of chocolate and they melt into this delicious pool of chocolate!
Flaky Salt – Finish off these cookies by sprinkling some flaky salt to create a perfect balance of sweet and salty. That little bit of saltiness helps enhance the overall flavour and highlights the brown butter and chocolate.
Brown Butter and Chocolate Chip Cookies
Browning your butter is probably the most important step in this chocolate chip cookie. Browning butter is the process of melting and cooking the butter till you’re left with this nutty, caramel-like flavour. It seriously enhances these chocolate chip cookies. If you don’t believe me, believe science! By browning butter you create a Maillard Reaction, a chemical reaction that enhances the flavour and aromas of the molecules.
Browning butter can be intimidating especially if it’s your first time doing it, but it is super easy. It takes around 5 minutes to cook, with an additional 10 minutes cooling time. It’s an extra 15 minutes in your day – but is it worth it? Absolutely, you will have a chocolate chip cookie like no other!
How to Make Brown Butter
Use a light coloured pot to visualize the butter better. Over medium high heat, melt the butter. Once melted, the water content of the butter will continue to evaporate, leaving you the fat and white specks we call milk solids. Stir the butter often, scraping the sides to allow the milk solids to brown.
Watch it carefully so it does not burn. This will take around 3-4 minutes. Before the butter finishes browning, it will foam up. You can swirl the pan to check if the solids have browned. Once browned, remove from the pot and pour in to a heat proof bowl, scraping all the browned bits as well. I usually pour it directly in to my Kitchen aid bowl and pop it in the freezer for 10 minutes to cool.
*Before using, make sure it is slightly warm to touch but NOT HOT, or else your sugar will melt*
The Best Brown Butter Chocolate Chip Cookies
Course: Dessert, Cookies15-16
Cookies15
minutes11
minutes1
hourThese are the BEST Brown Butter Chocolate Chip Cookies! A perfect balance of sweet, salty, gooey, with a soft centre but crispy exterior.
Ingredients
3/4 Cup (170g) Unsalted Butter
1/2 Cup (100g) Packed Brown Sugar
1/2 Cup (100g) Granulated Sugar
1 Egg (50g) + 1 Egg Yolk (18g)
2 Tsp (10g) Vanilla Extract
1 Tsp (5g) Baking Soda
1 Tbsp (7g) Cornstarch
1 1/2 cup (225g) Ap Flour*
1/4 + 1/8 Tsp Kosher Salt (I use Diamond Crystal)
200g (Around 1 1/2 Cup) Roughly Chopped Chocolate (I use milk & dark)
+ 50g extra for the topFlaky Salt to top
Directions
- Brown the butter: Use a light-coloured pot to visualize the butter better. Over medium-high heat, melt the butter. Once melted, the water content of the butter will continue to evaporate, leaving you the fat and white specks we call milk solids. Stir the butter often, scraping the sides to allow the milk solids to brown. Watch it carefully so it does not burn. This will take around 3-4 minutes. Before the butter finishes browning, it will foam up. You can swirl the pan to check if the solids have browned. Once browned, remove from the pot and pour into a heat-proof bowl, scraping all the browned bits as well. I usually pour it directly into my Kitchen aid bowl and pop it in the freezer for 10 minutes to cool.
- In a stand mix or bowl with a whisk, add cooled brown butter and both brown and granulated sugar. The butter should be warm to touch but NOT HOT, otherwise your sugar will melt. Cream butter and sugars for 1-2 minutes, until combined.
- Add the egg, egg yolk, and vanilla extract and mix for 1 min until slightly pale and thick.
- Add in baking soda, cornstarch, salt and all purpose flour and mix on low until fully combined. Do not over mix!
- Mix in 200g of the chopped chocolate and fold.
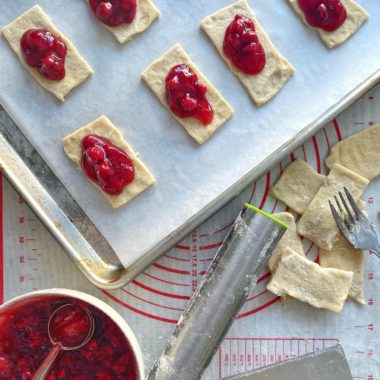
- Using a large cookie scoop (around 2-3 tbsp), scoop your cookies on to a tray lined with parchment or a silicon mat. Take the remaining 50g of chocolate and place a few pieces on top of each cookie scoop. Cover and place in the fridge for 30 minutes, or up to overnight! *You can skip this step, but I find the cookies spread more evenly when they have some time in the fridge to firm up.*
- Preheat oven to 350 Fahrenheit. Place cookies a few inches apart and bake for 8 minutes in the middle rack of the oven. When the cookies have spread and are approximately 70% done but still raw and puffy, remove from the oven and tap the entire tray on to a safe counter 4-5 times to deflate the cookie. This will ensure a crispy edge but gooey centre. Return back to the oven for 3-4 minutes, until edges are golden brown, and middle appears soft. Remove from oven, tap again 2-3 times and let cool completely.
- *Optional but HIGHLY recommend* Sprinkle some flaky salt on top.
Notes
- *When I scoop and level my AP Flour I ALWAYS get 150g. I don’t know why, but its always consistent. Most online measurements say that 120-130g is equivalent to 1 Cup of AP Flour. Adjust accordingly if necessary, but I recommend using metric measurements over US.
- To freeze: Transfer refrigerated raw cookie dough to a ziplock bag and freeze.
To bake, remove from freezer and place on lined baking tray. Let cookies defrost slightly while preheating the oven. Bake as intended in the recipe, adding 2-3 minutes extra to your baking time
Love this!!! Keep up the amazing works! ❤️
Thank you so much Liza! <3